|
Somewhere in Time,
Unlimited presents: A Weekend Workshop with
October 6 & 7, 2012 Seattle, WA
|
 |
|
The Historical Hairdresser (THH) has designed for TV, film, museums, and re-enactors worldwide
for more than 20 years. She is a licensed hairdresser, wig master,
and costumer. Her focus is on period hairstyling from 1500-1969.
This was an exceptional opportunity to take classes in the Pacific Northwest from a nationally-recognized instructor. |
|
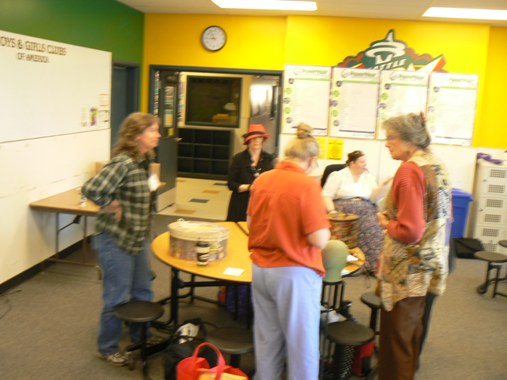 |
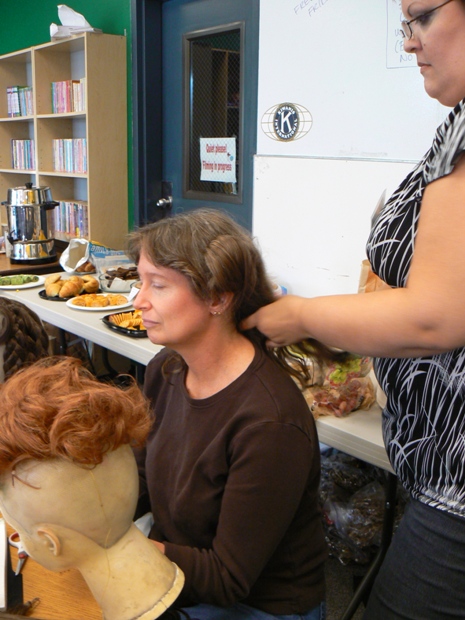
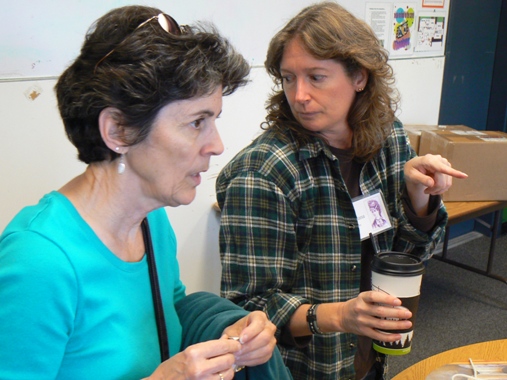
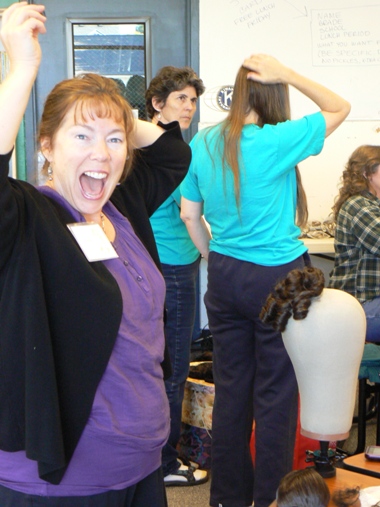
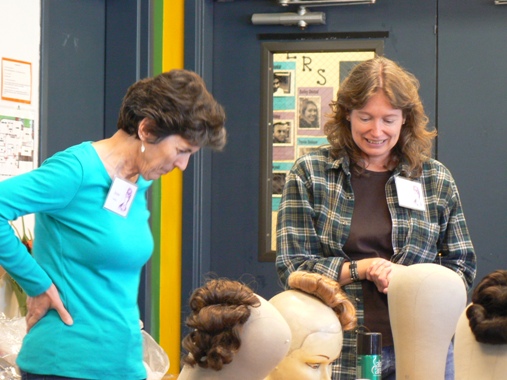
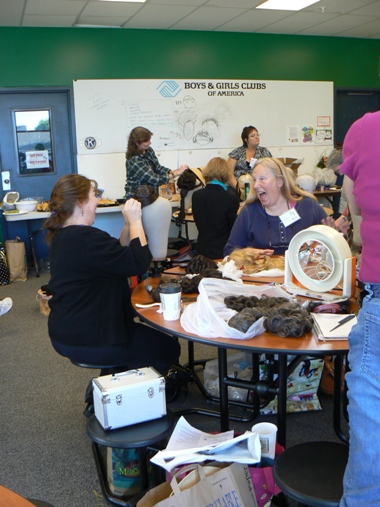
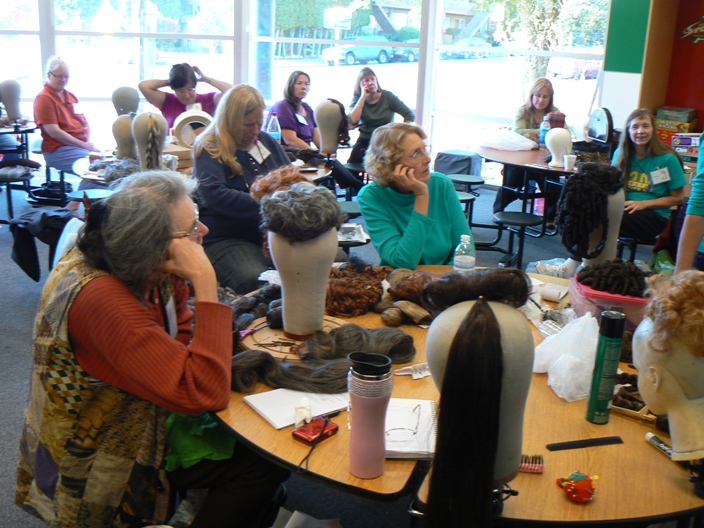
Members and friends of the historical costuming group in Seattle
called Somewhere in Time, Unlimited, met at a Ballard neighborhood location to learn about historically accurate hairdressing. Everyone
was so excited! Most participants had Traffic was a challenge this day. Our instructor |
 |
 |
|
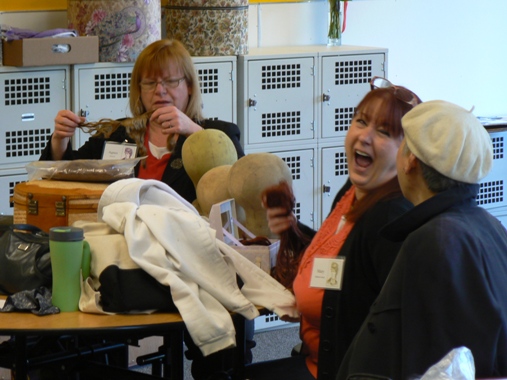
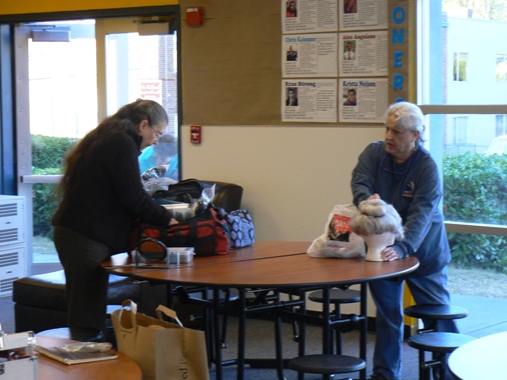
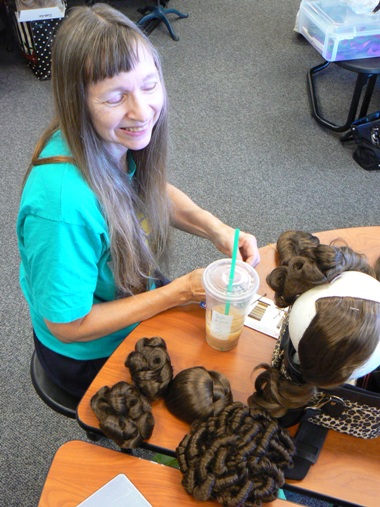
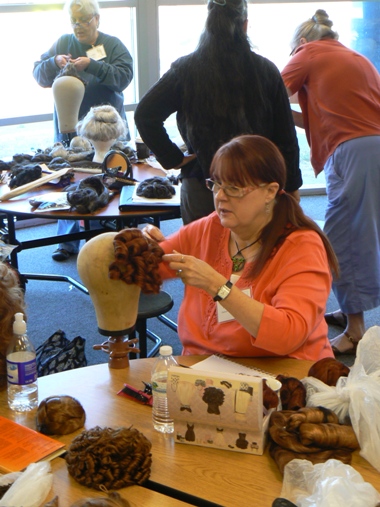
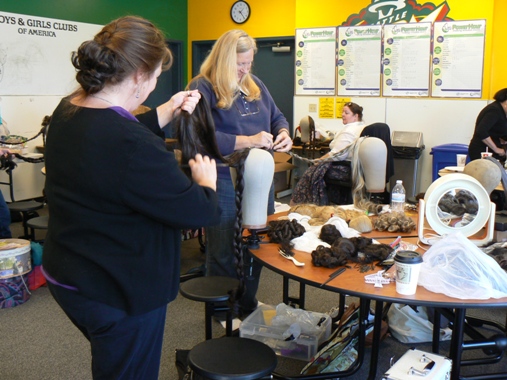
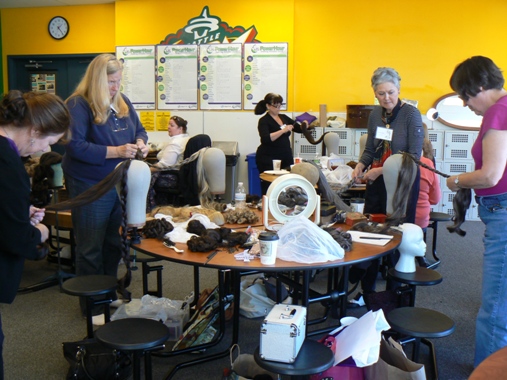
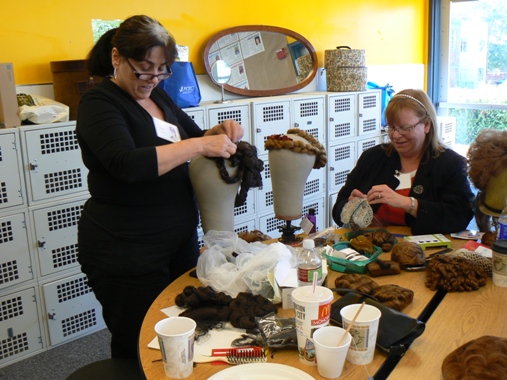
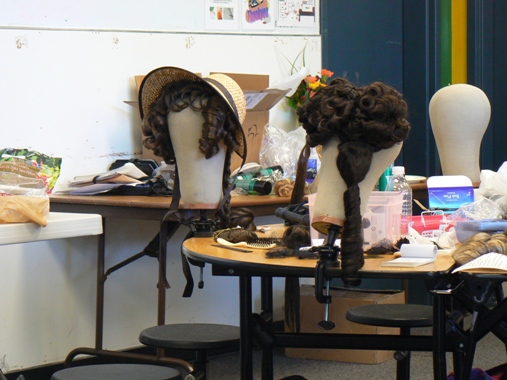
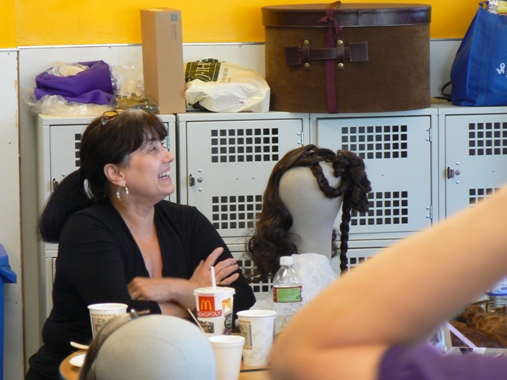
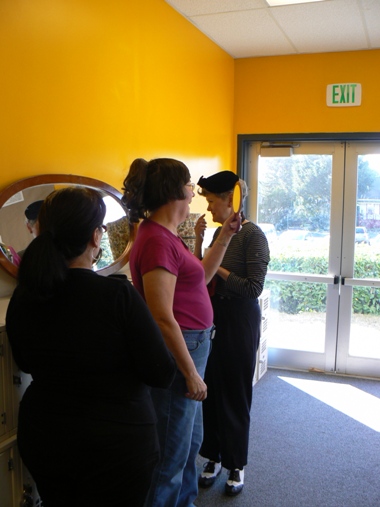
Ladies began to unpack their supplies. Several had brought
along wigs and hair pieces they already owned. Thankfully, we had time to unpack, enjoy a snack and drink that extra cup of coffee. |
|
 |
 |
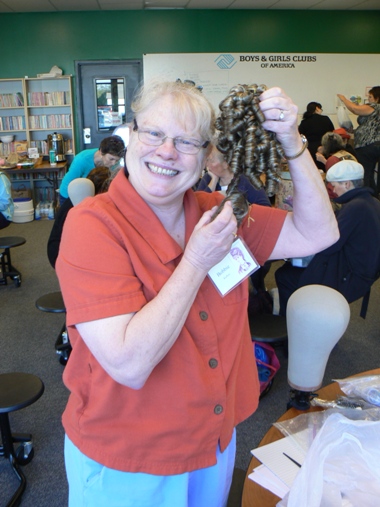 |
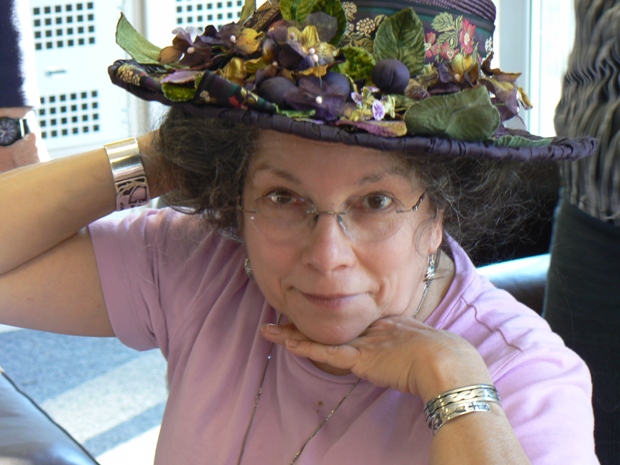
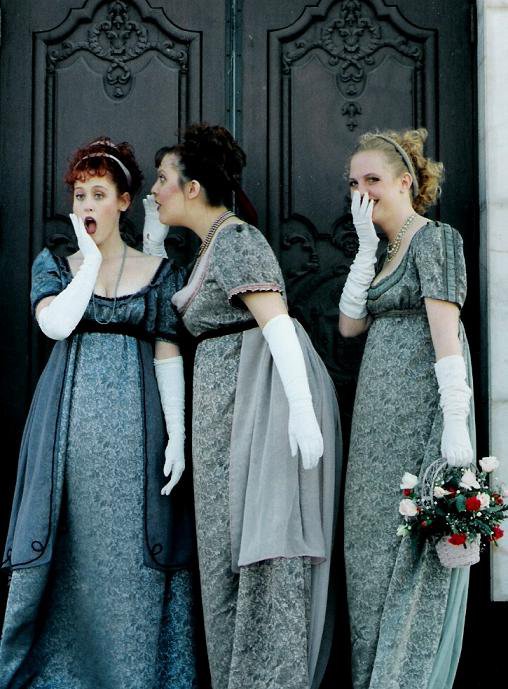
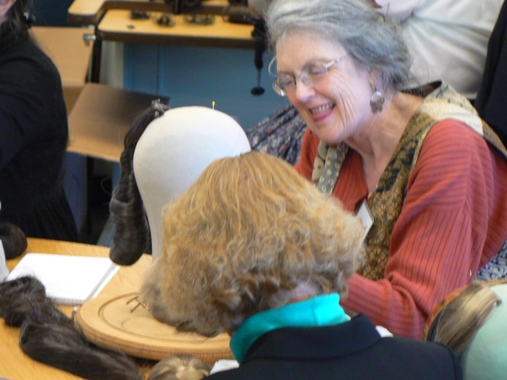
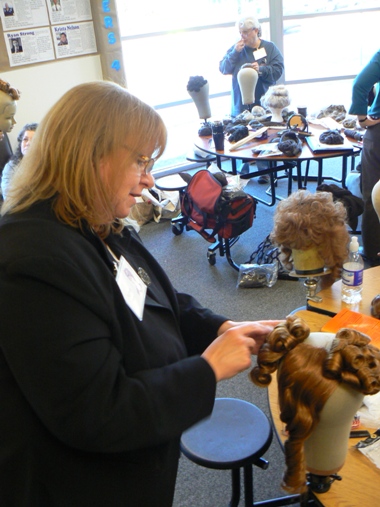
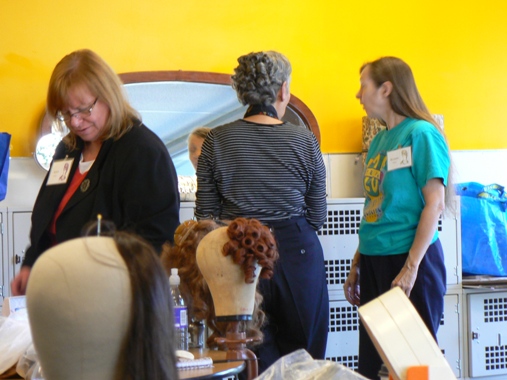
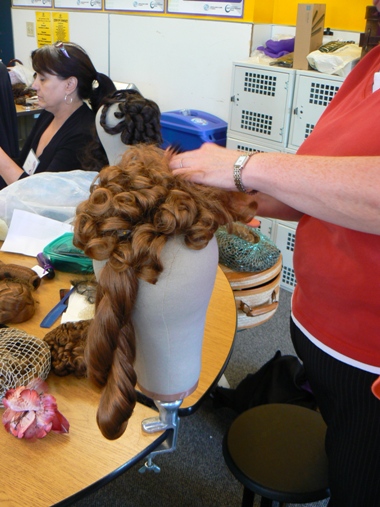
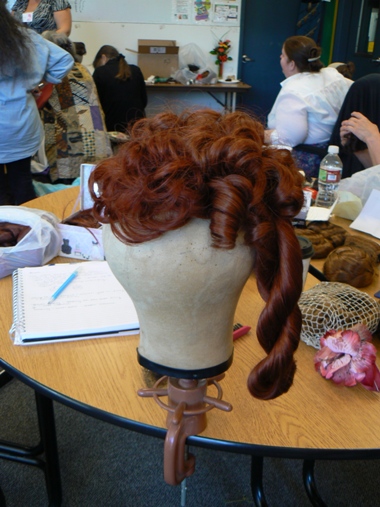
Miss Bobbie is holding up the Victorian ringlet hairpiece she ordered. I see some creative
use for these ringlets **Note: if you have interest in Victorian dress, |
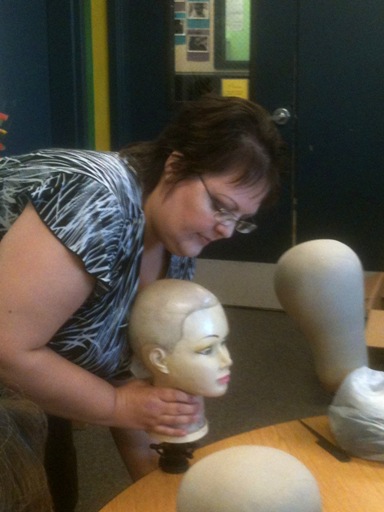
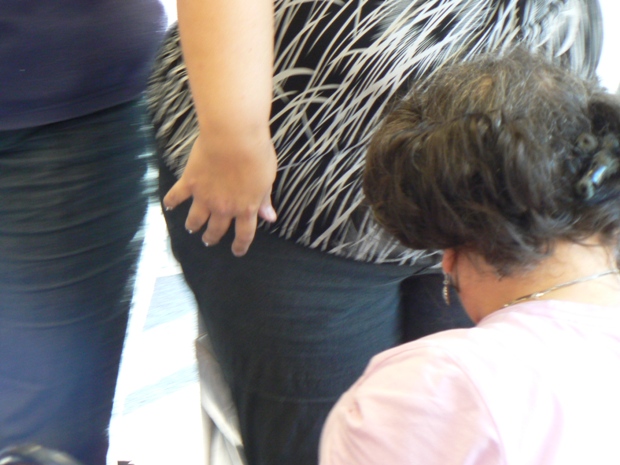
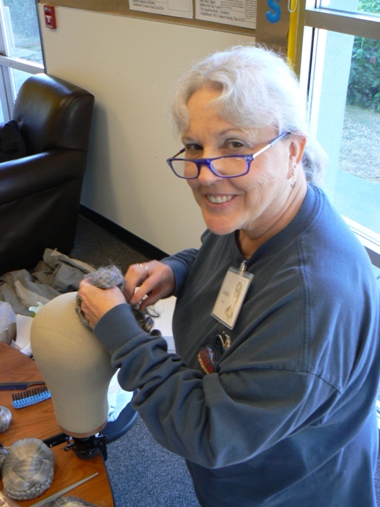
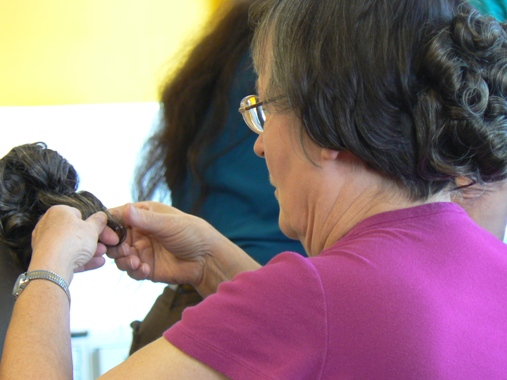
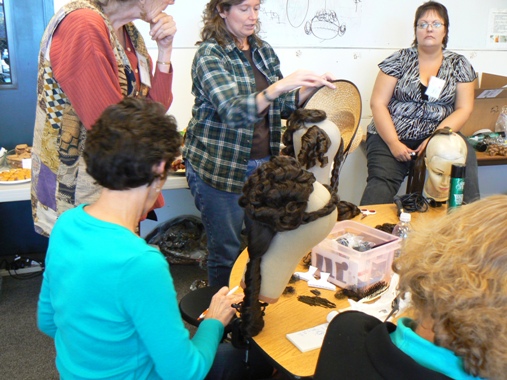
THH shows us how to mount the head stand to the |
THH explained how to treat a wig or hairpiece. |
 |
 |
 |
 |
 |
 |
 |
 |
 |
 |
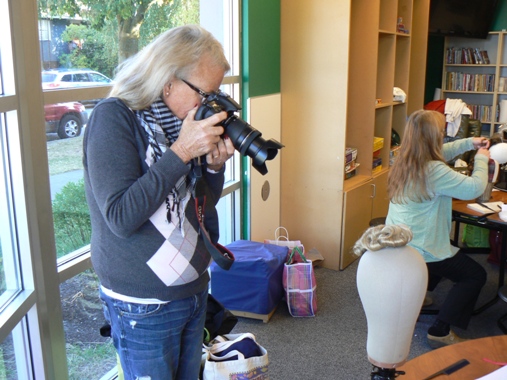 |
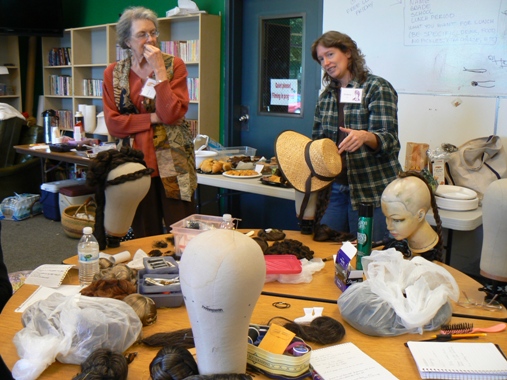
A few of the participants had brought their own cameras along to document the Workshop with clear close-up images. |
 |
 |
 |
 |
 |
 |
|
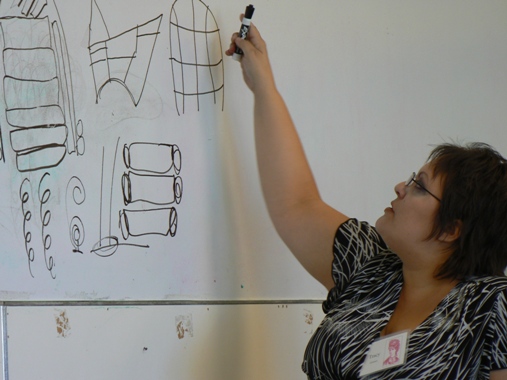
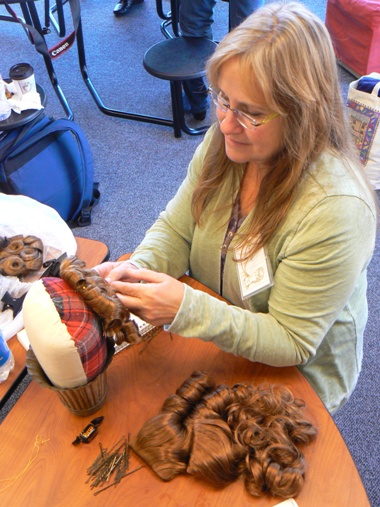
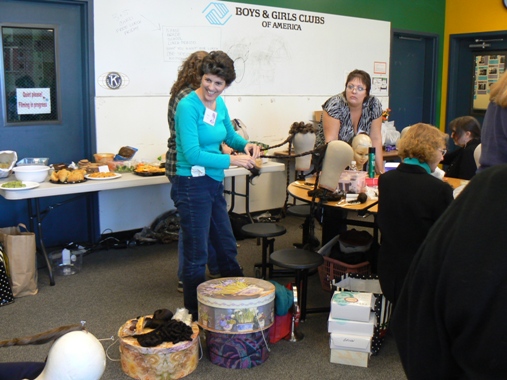
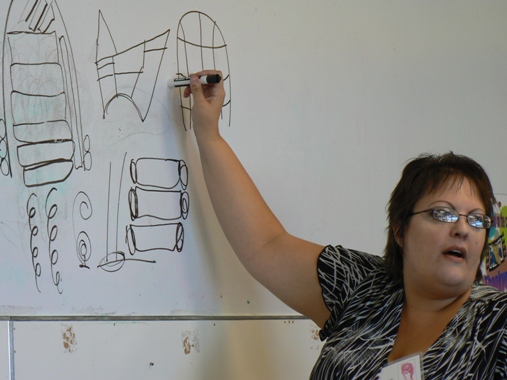
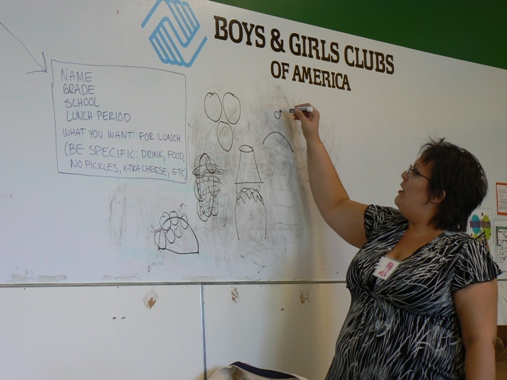
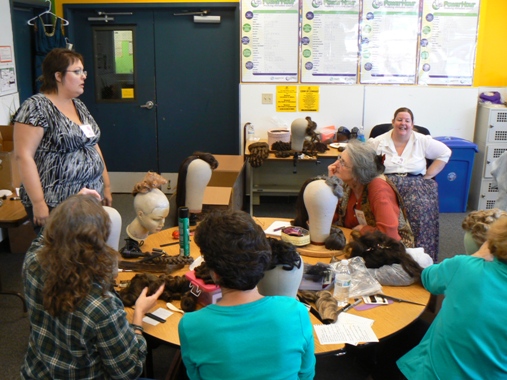
THH drew some sketches on the whiteboard, diagramming how to put
together a collage of hairpieces that would be ideal for 18th century. |
|
|
|
|
|
 |
 |
 |
 |
 |
 |
 |
 |
|
 |
 |
 |
 |
 |
|
 |
 |
 |
 |
 |
|
 |
 |
 |
 |
 |
 |
 |
 |
 |
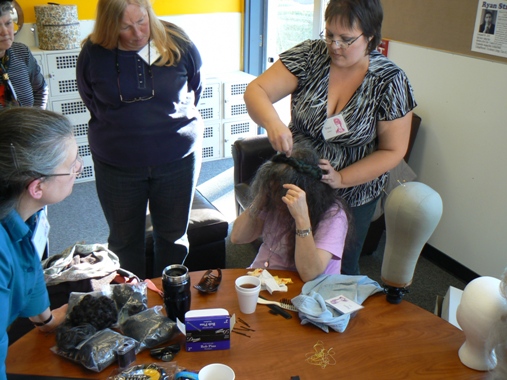
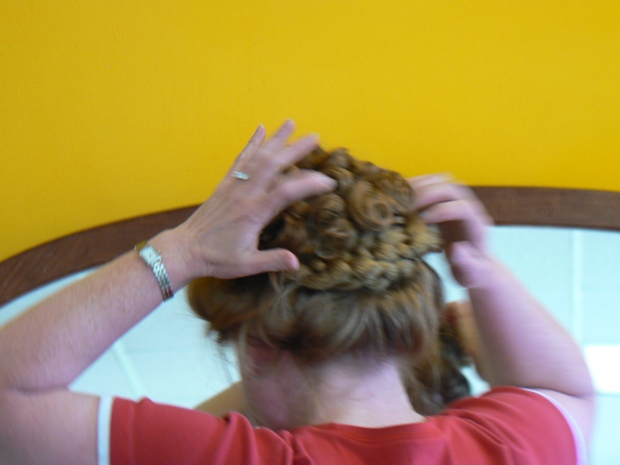
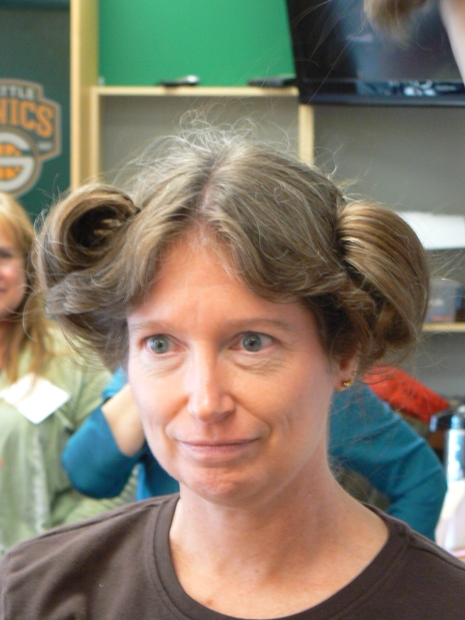
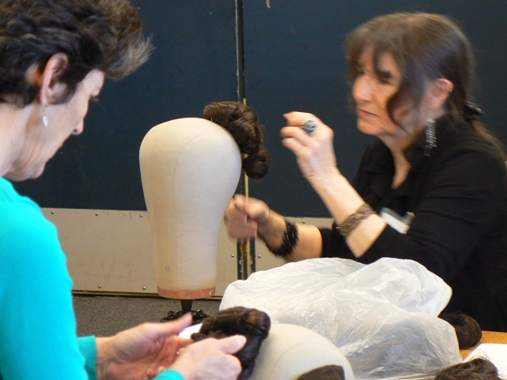
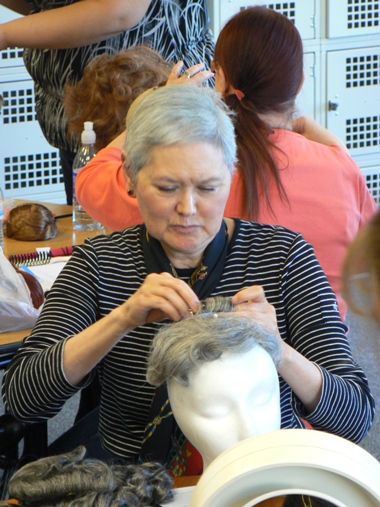
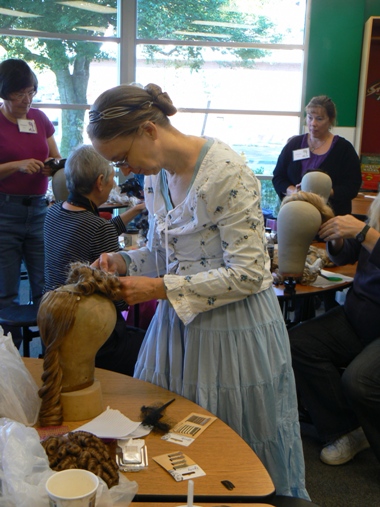
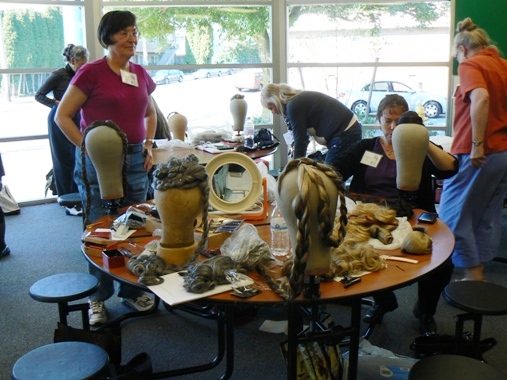
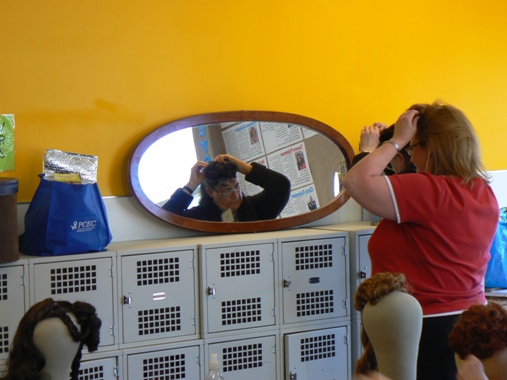
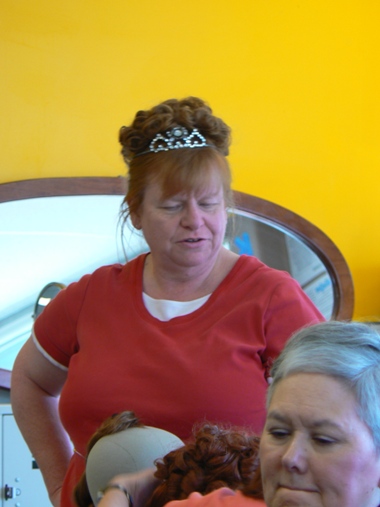
In this photo, THH is securing a Juliet bun onto the head of a participant who actually has quite short hair. THH showed us how to add
pieces **Note: If you have interest in purchasing |
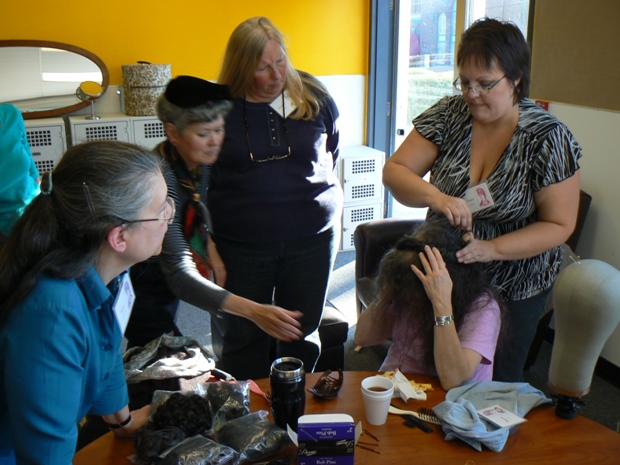
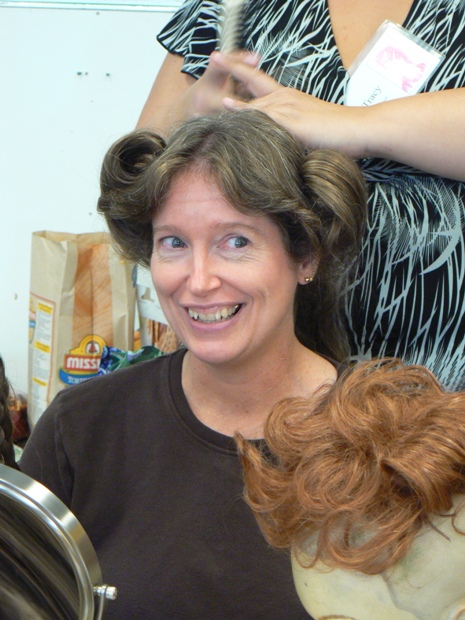
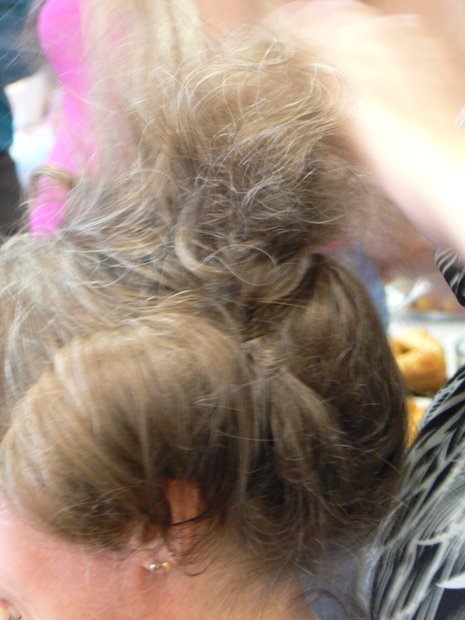
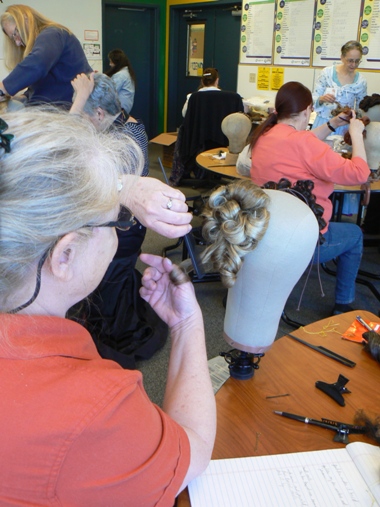
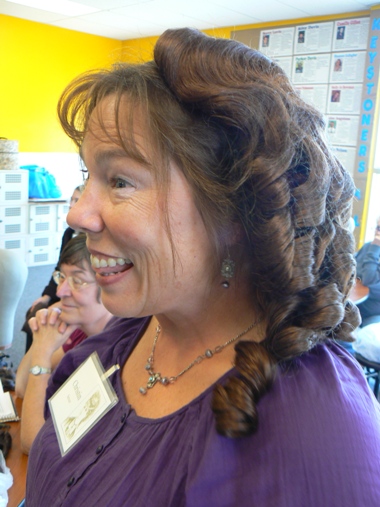
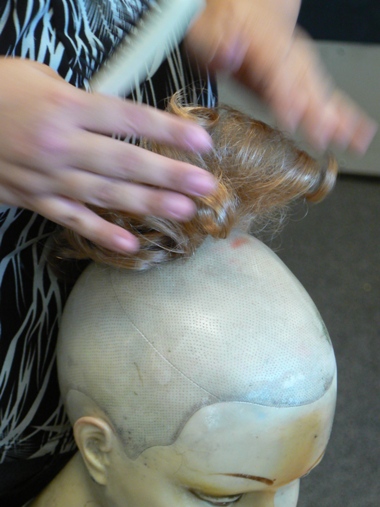
Someone asked if THH could show us how to create an Edwardian
hairstyle.
The first thing THH did was brush all hair in a perfectly
circular way, away from the crown.
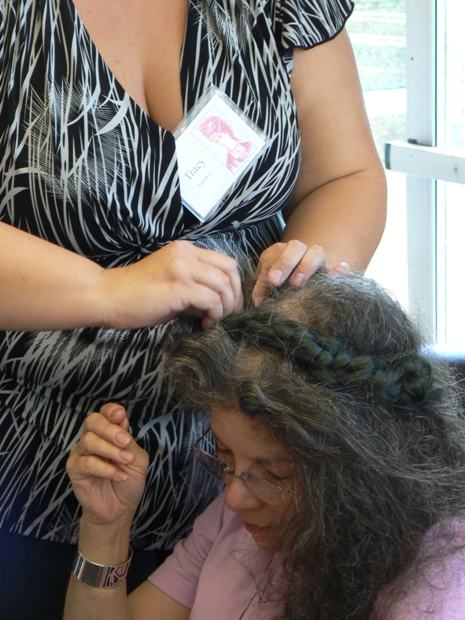
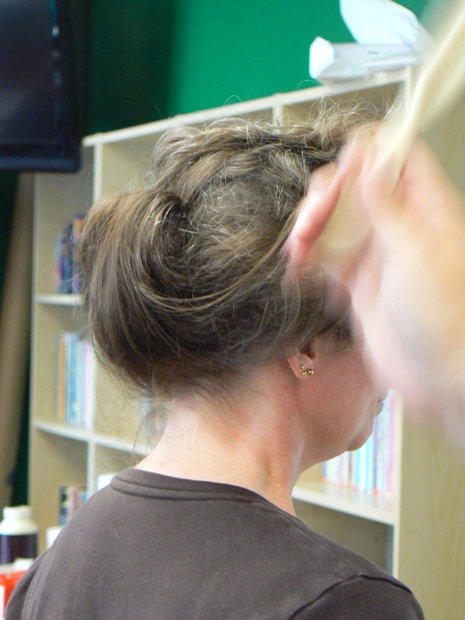
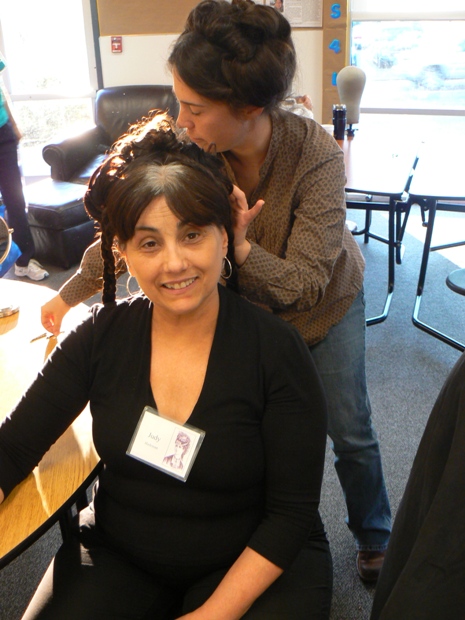
Now THH began "French Ratting" or "teasing" Miss Pippin's
hair. This meant that the hair would be
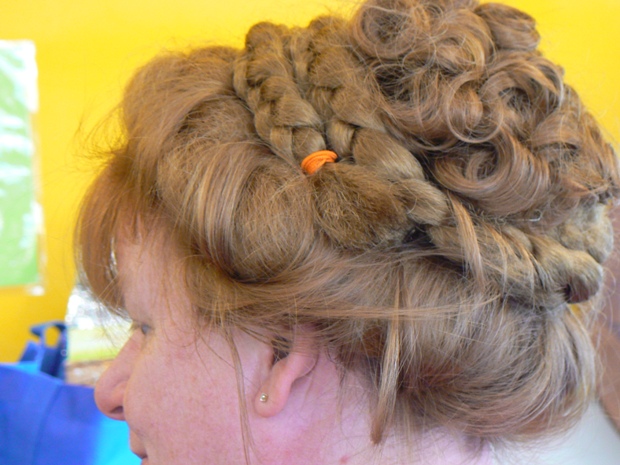
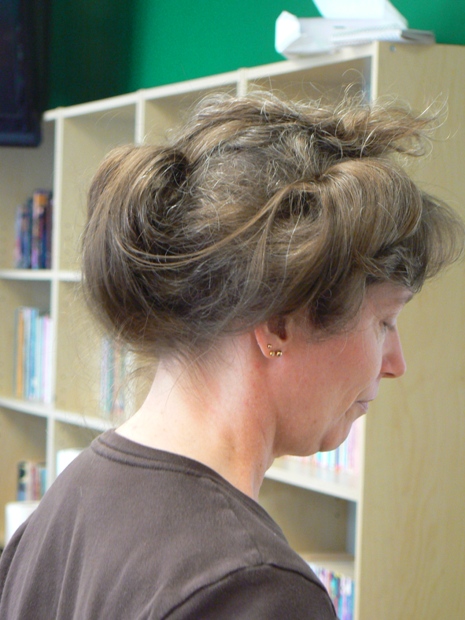
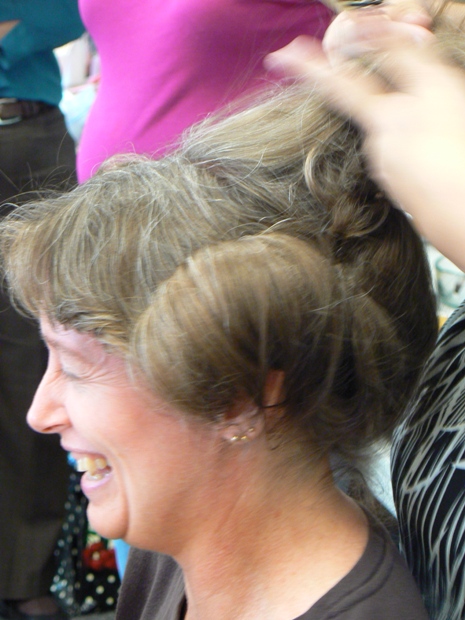
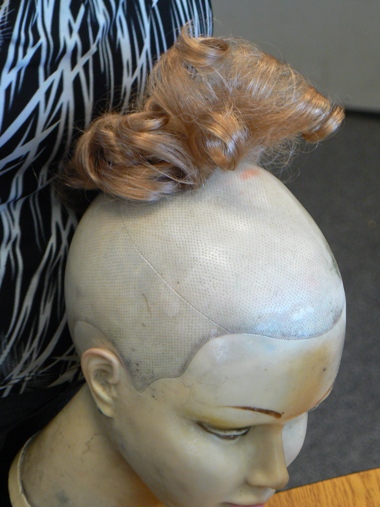
Next THH began tucking the ratted hair over and then behind the coil.
Here was a quick example of how to accomplish this hairstyle.
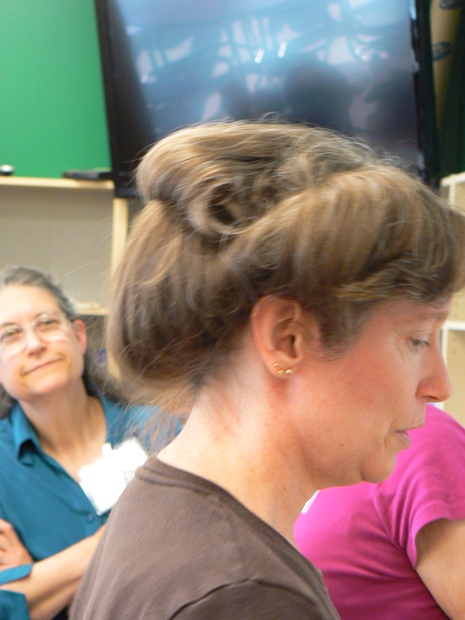
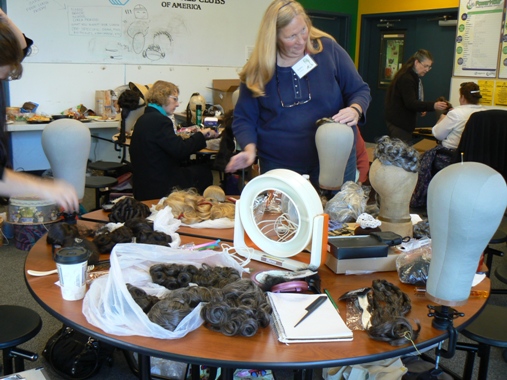
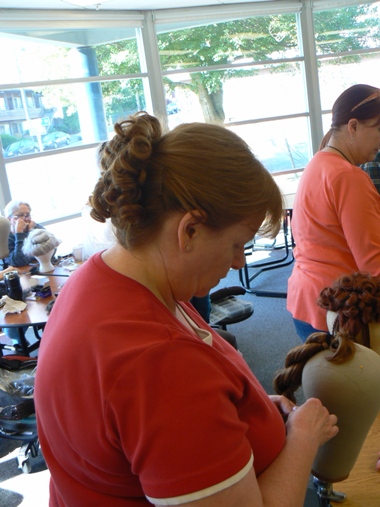
Miss Agnes (below) who has shorter hair than Miss Pippin,
Again, a hairstyle put together quickly and easily, provided you have the hairpieces! We turned our attention next to a participant with
shoulder-length hair.
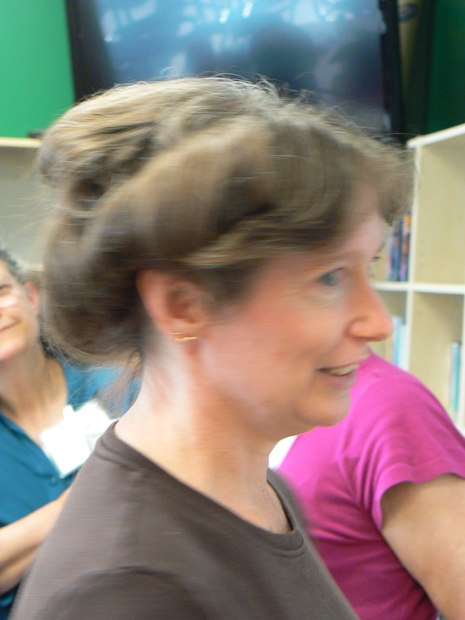
THH began by dividing the hair in three parts.
THH intentionally made the rolls uneven on the
head. The back of head hair was divided in two parts;
On the back of the head, the hair was ratted, leaving the
underside smooth.
This time, the UNDER side of the clump of hair is teased,
The hair is secured to the head. You'll note that the
roll is
Looks pretty darn good for being a 3-minute hairdo on the fly! By the end of the class, we felt confident to tackle more styles on our own.
|
|
|
Thank you for taking time to visit our webpage! To learn more
about this historical costuming group, We look forward to seeing you at our next event! For more information, you may email: |
|
| Updated Nov. 15, 2012 | |